
Unraveling the Xbox 360 Slim Assembly
Unraveling the Xbox 360 Slim Assembly
There are many reasons why you might want to complete an Xbox 360 teardown. If your Xbox 360 constantly falls victim to the infamous Red Ring of Death, a simple soldering repair can be initiated by opening up the case. It’s not just repairs, though. You can open up your Xbox 360 case if you want to add new features to your fully functional console.
No matter the reason, disassembling your Xbox 360 is possible in just a few steps.
Tools Needed to Open an Xbox 360 Slim
Before the question of how to open your Xbox 360 can be answered, you’ll need to gather the right tools. Specifically, you’ll need the following tools:
- A flathead screwdriver
- A T10 Torx screwdriver
- An unbent paper clip
- A spudger—but if you don’t have one, your flathead screwdriver is acceptable
Some handy containers for screws never hurt, either, and you’ll certainly thank yourself at the reassembly phase if all your screws are neatly organized.
Remember to ground yourself as you work by touching an unpainted metal surface within the Xbox 360. This will reduce the likelihood of static electricity damaging the internal components. There is also the option of an anti-static wristband to protect against potential shocks that could damage or even fry your Xbox 360.
Xbox 360 Disassembly Steps
Once you’ve gathered your tools, you’re ready to open your Xbox 360. Unlike many comparative consoles, accessing the inner workings of your Xbox 360 is somewhat difficult. You’ll need to remove the faceplate, end grilles, bottom panel, and top panel before you have access to the internal components.
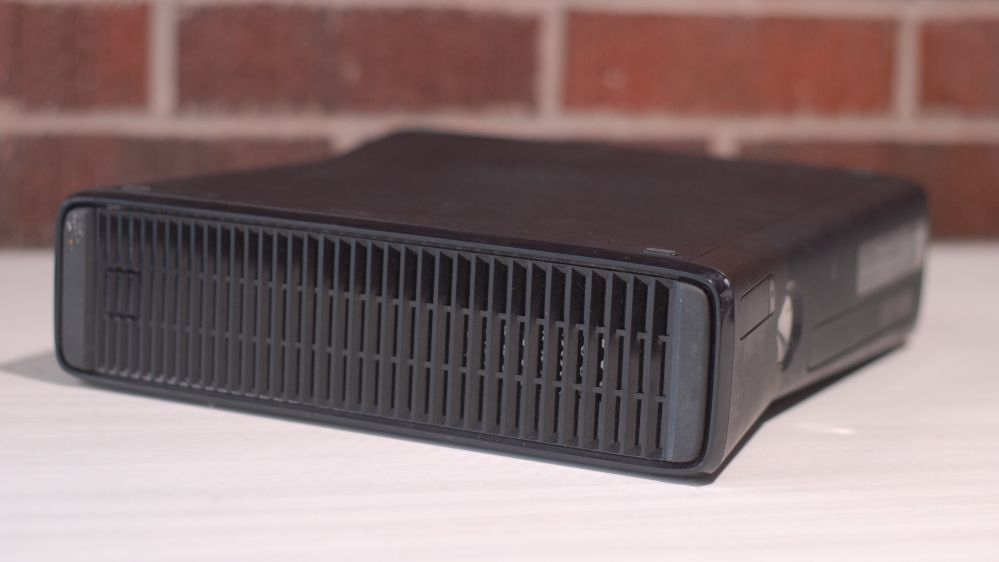
The process of opening your Xbox 360 will vary by model. The Xbox 360, Xbox 360 S (Slim), and Xbox 360 E have notably different cases. As a result, the locations of the brackets holding the case together differ. In this article, we’ve disassembled an Xbox 360 S.
1. Remove the Side Covers
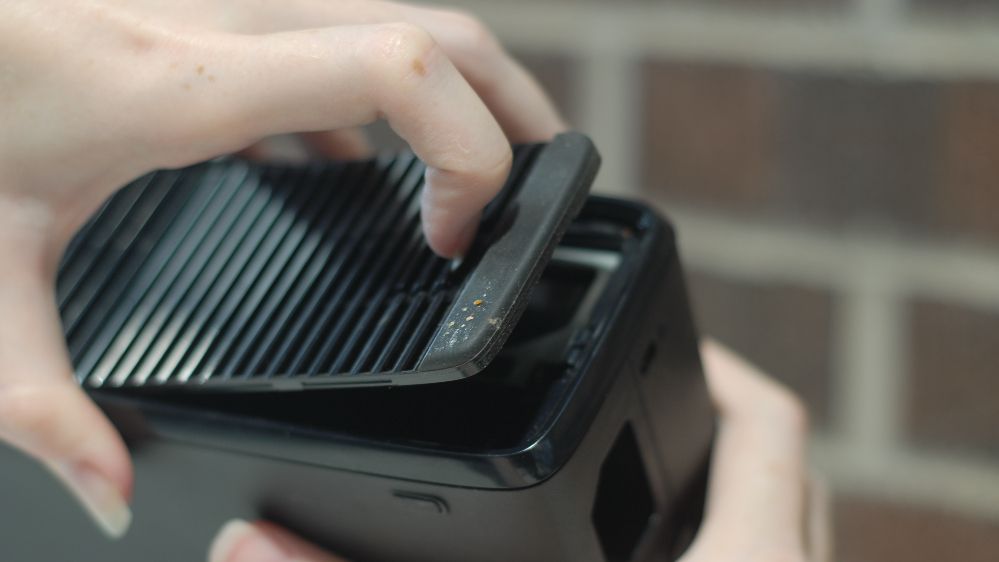

In some ways, tearing down the Xbox 360 S is simpler than its previous iterations. You’ll need to start by detaching the two side covers. The bottom side cover has a latch that lets you click and release it. Afterward, you’ll need to unclip the other side panel portion gently. It’s often possible to do this by gently pulling, but you can use your spudger to ease the clips loose if you’re in doubt.

After you’ve removed the bottom side cover, you’ll need to remove the top side cover. The top side cover doesn’t have any latch and is instead clipped to the Xbox chassis on all sides. Ease your spudger or screwdriver into the seam between the top side cover and the Xbox 360 until it begins to lift away.
2. Remove the Side Faceplates

![]() FX PRO (Gold Robot + Silver Robot(Basic Package))
FX PRO (Gold Robot + Silver Robot(Basic Package))
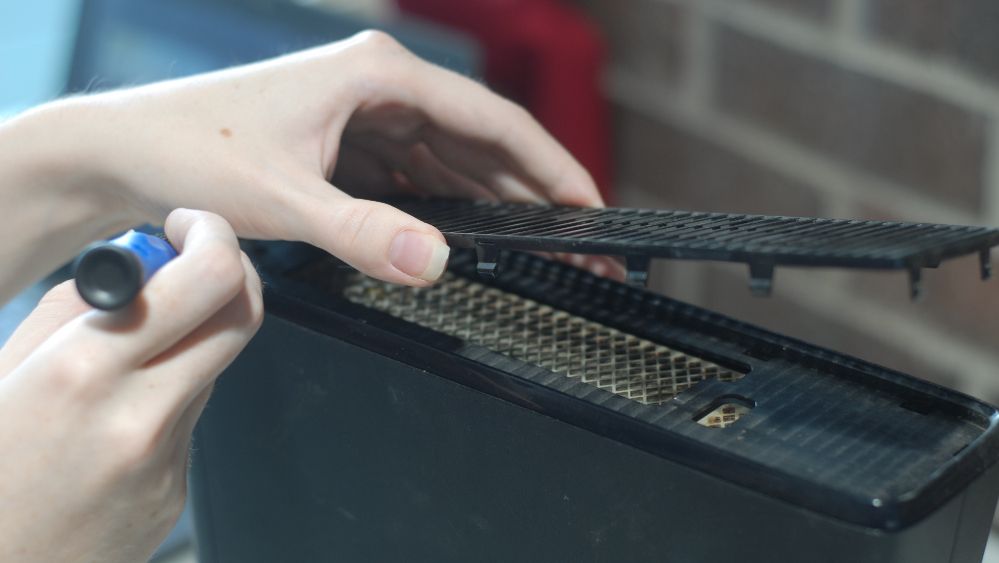
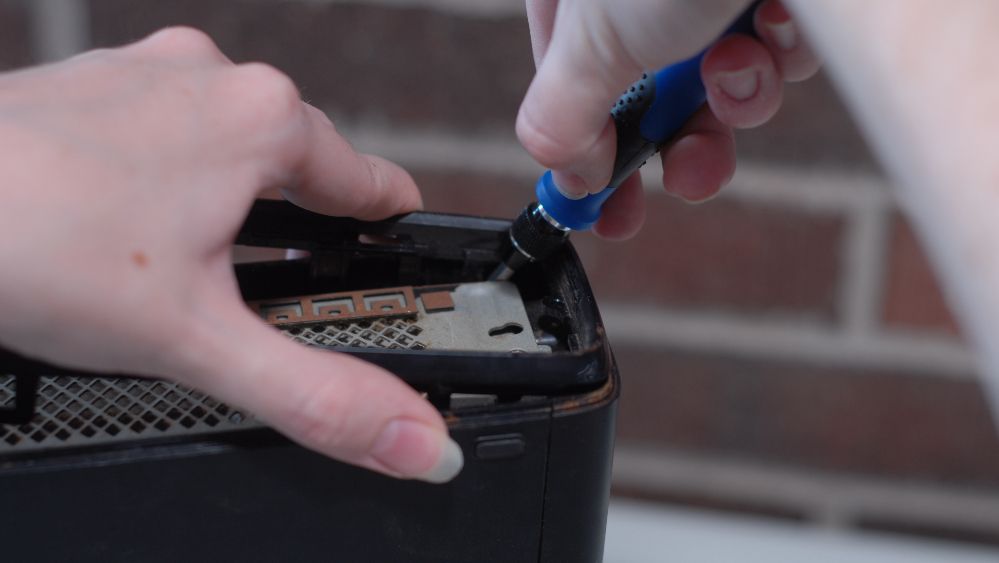
Now that you’ve removed the side covers on both ends of your Xbox 360, you’ll need to remove the underlying side faceplates. Unfortunately, these can be quite difficult to remove. You’ll need to ease your spudger under the leftmost, middle, and rightmost holes on each side of the faceplate. Angle the blade of the spudger upward until the clip holding the faceplate pops loose.
It’s hard not to feel like you’re breaking something during this step. Ultimately, removing the two faceplates for the first time will require a bit of pressure.
3. Uninstall the Wi-Fi Adapter and Hard Drive
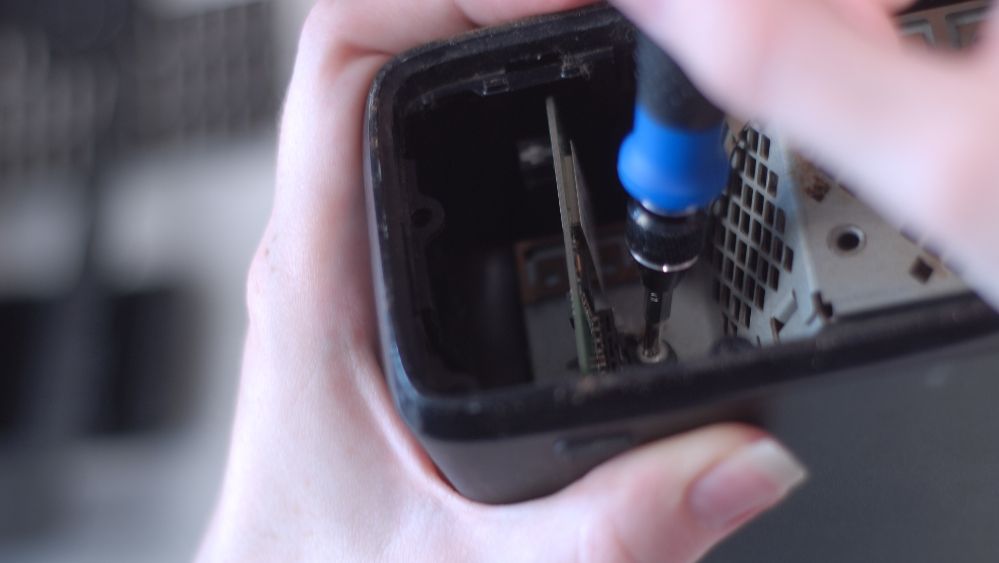
With the side covers removed and faceplates removed, you’re ready to remove the Wi-Fi adapter and hard drive. The Wi-Fi adapter is under the top faceplate, while the hard drive is under the bottom faceplate. You’ll need to use your Torx T10 screwdriver to remove the Wi-Fi adapter. Remove the screw, then gently pull the Wi-Fi adapter from its port and out of the chassis.
After you’ve set the Wi-Fi adapter aside, you’ll need to remove your Xbox 360’s hard drive. You’ll find removing the hard drive much easier than removing the adapter, as it includes a convenient pull tab. Place the Xbox 360 on its side so the hard drive faces upward, then pull directly upward on the tab until the hard drive disconnects from its ports. Set the hard drive and Wi-Fi adapter aside on a safe, clean surface.
4. Remove the Frames and Pry Apart the Back Panel
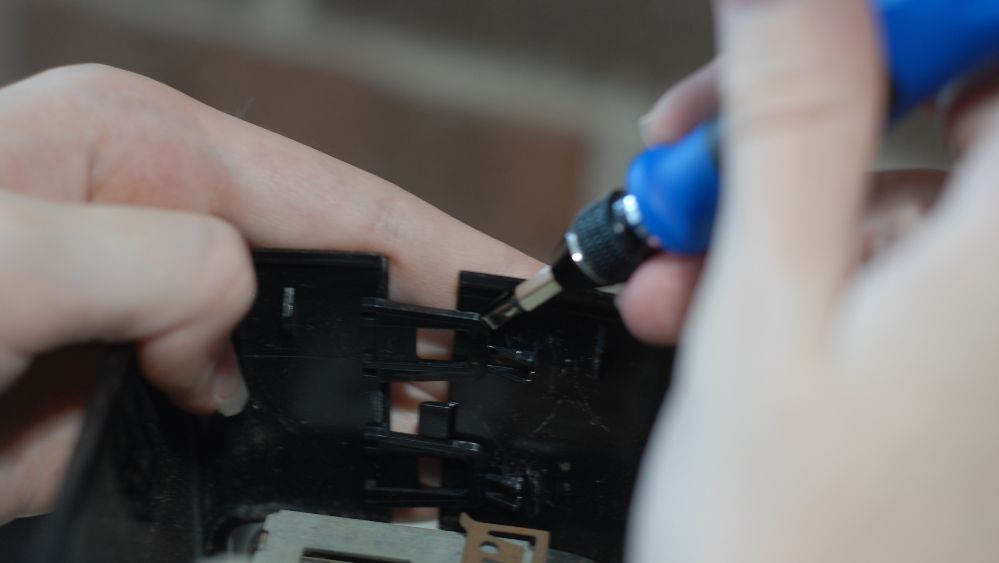
Now that you’ve removed the Wi-Fi adapter and hard drive, you’re almost ready to access your Xbox 360 Slim’s internal chassis. Before doing that, you’ll need to remove the frames on the top and bottom side panels that once held the faceplates and side covers in place. Much like with the faceplates, you can accomplish this by easing your screwdriver behind any clips under the frame as you peel it away from the Xbox.
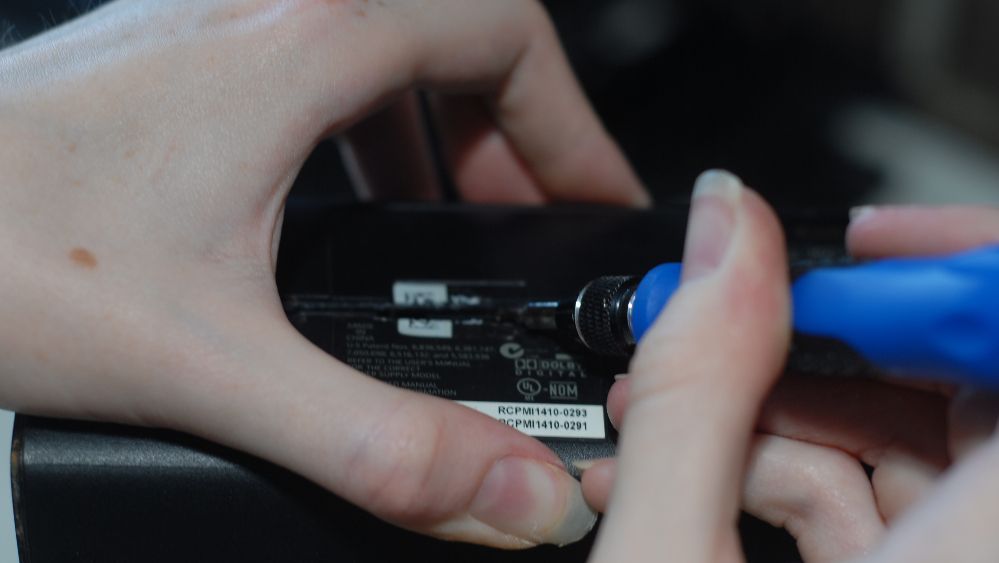
After removing both frames, you can access your Xbox 360’s internal chassis by prying apart the back panel. Use your spudger to apply pressure beneath the two clips holding the back frame in place. You may need to hold the sides apart to prevent them from clipping back together. Once they’re separated, you’ll need to ease your spudger or screwdriver down the seam of the Xbox 360 until the bottom side of the back completely bisects.

Finally, flip your Xbox 360 and find and release the internal clip holding the top side of the back together. Once this internal clip has been released, you can split the two halves by pushing them apart by hand or using your spudger to pry them apart. It’s generally advisable to go with the spudger, as the Xbox 360’s back panel is quite frustrating to separate by hand.
Any active warranty on your Xbox 360 will be voided as soon as you complete this step because breaking the Microsoft Seal sticker is necessary to proceed.
5. Remove the Internal Case Screws

After you’ve removed the bottom panel, you should see the underlying metal chassis of your Xbox 360. Six screws hold the top of the internal case in place, including two screws on the right side, two screws on the left side, and two screws in the indentations in the middle. Remove all the screws with your T12 screwdriver and set them aside in a secure container. It’s vital to make sure that you remove the correct screws—in this case, the six pictured above. Each screw is 2.5” long. You will not be able to remove the top panel of your Xbox 360 until the six T12 screws are removed.
If any of the screws on your Xbox 360 are stripped, you’ll need to use an alternative process to remove the screws before you can proceed.
6. Pull Away the Front Panel
Finally, you’re ready to remove the front panel. You’ll need to release two clips on each side of the front panel to allow it to release. Place your Xbox 360 on its side such that the bottom side panel faces upward, then insert your spudger and apply pressure to the back of the internal clip. When it releases, flip your Xbox 360 again and release the clip under the top side panel.
 Nero Burning ROM:
The ultimate burning program for all your needs!
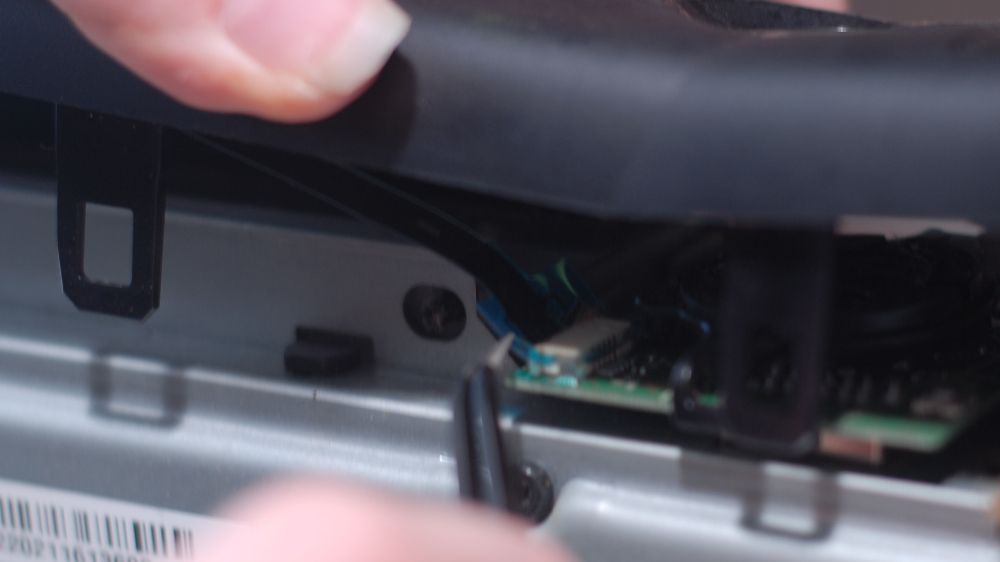
Gently ease the front panel away from your Xbox 360, but don’t attempt to remove it completely. The front panel is still connected to your Xbox by an important and delicate cable. Gently set the front panel to the side such that you have access, then use a spudger or delicate tweezers to unlatch the display connector.
Take Precautions When Accessing Internal Components
Remember to be cautious as you work within your Xbox 360. Once you open the Xbox 360, It’s easy to cause irreversible damage to your console through simple mistakes—such as failing to ground yourself before touching the hardware. Your immediate access to the DVD drive, RF board, and motherboard means all components are at risk.
If you haven’t already, ground yourself by touching an unpainted metal surface on the interior chassis of the Xbox 360 as you work. Avoid wearing static-prone garments made from fabrics like wool, fur, cotton, or silk. If you have ESD gear available, such as an anti-static wrist strap or desk mat, use it as you work to reduce the likelihood of ESD damage .
Most importantly, research any repairs or modifications you intend to complete carefully. Certain popular fixes, such as the “Xbox 360 towel trick”, are rudimentary and present a serious potential fire hazard. While the proper methods might not be as easy as popular workarounds, they will provide fantastic results.
Take Apart Your Xbox 360 With Ease
While Xbox 360 disassembly might seem intimidating, it’s actually a simple process. Most of the disassembly process involves removing the various plates that protect the inner components of the console. Once you have access to the motherboard and components, you can perform nearly any repair or modification conceivable within just a few steps.
- Title: Unraveling the Xbox 360 Slim Assembly
- Author: William
- Created at : 2024-08-27 16:58:38
- Updated at : 2024-08-28 16:58:38
- Link: https://games-able.techidaily.com/unraveling-the-xbox-360-slim-assembly/
- License: This work is licensed under CC BY-NC-SA 4.0.