The Foundation of FPS Mastery: Critical Settings Guide

The Foundation of FPS Mastery: Critical Settings Guide
First-person shooters (FPS) are a cornerstone of the gaming scene. It is a universally enjoyed genre that plays well on most platforms, including hand-held, console, and PC. FPS games are also best enjoyed after taking note of some settings.
Before hopping into a game, you’ll want to customize these settings to fit your playstyle and personal preference.
1. Game Resolution

The most common and generally accepted ratio to play on is 16:9. This ratio gives you the best default field of view and quality per screen pixels. However, both games and supported game resolutions have continued to evolve. As a result, we now have access to 1440p, 2160p (4K), and even 8K screens.
Ultimately, the larger pixel widths and heights allow for a better viewing experience. Furthermore, such a wide variety of viewing options has questionedwhich display resolution is best for gaming .
This usually depends on whether you want to push your PC to its graphical limits or just want as many frames as possible. If you’re the former—with a love for crisp graphics—set your resolution in the game to the maximum setting your system supports. This will give you a clearer and generally superior viewing experience.
On the other hand, you could opt for a lower resolution to squeeze as many frames as possible from your GPU. A lower resolution is often less tasking—which allows you to get more frames—but doesn’t pack as much visual fidelity.
In any case, it ultimately boils down to preference and hardware. Frame rate may not be a concern if you have powerful hardware, but lowering your resolution helps with performance if this isn’t the case.
2. Audio Input and Output

What you hear is as important as what you see in most FPS games. This is why it is essential to customize your audio levels before hopping into your first game. Unbalanced audio can make it hard for you to hear other players in the game, callouts from your teammates, and audio cues from your environment.
Before diving into the individual audio levels, you must confirm that your audio input and output devices are set to the right options. This may be a little harder if multiple headsets or microphones are plugged into your computer.
You can begin to tweak the individual volume settings once the right devices are selected. The available volume settings will differ depending on the game. Ultimately, ensure your game environment volumes are high enough for you to pick up key sound cues.
There is no overstating the importance of sound cues and in-game communication. This is why a good pair of headphones and a microphone are at the top ofthe ultimate pro gamer hardware checklist .
3. NVIDIA Reflex
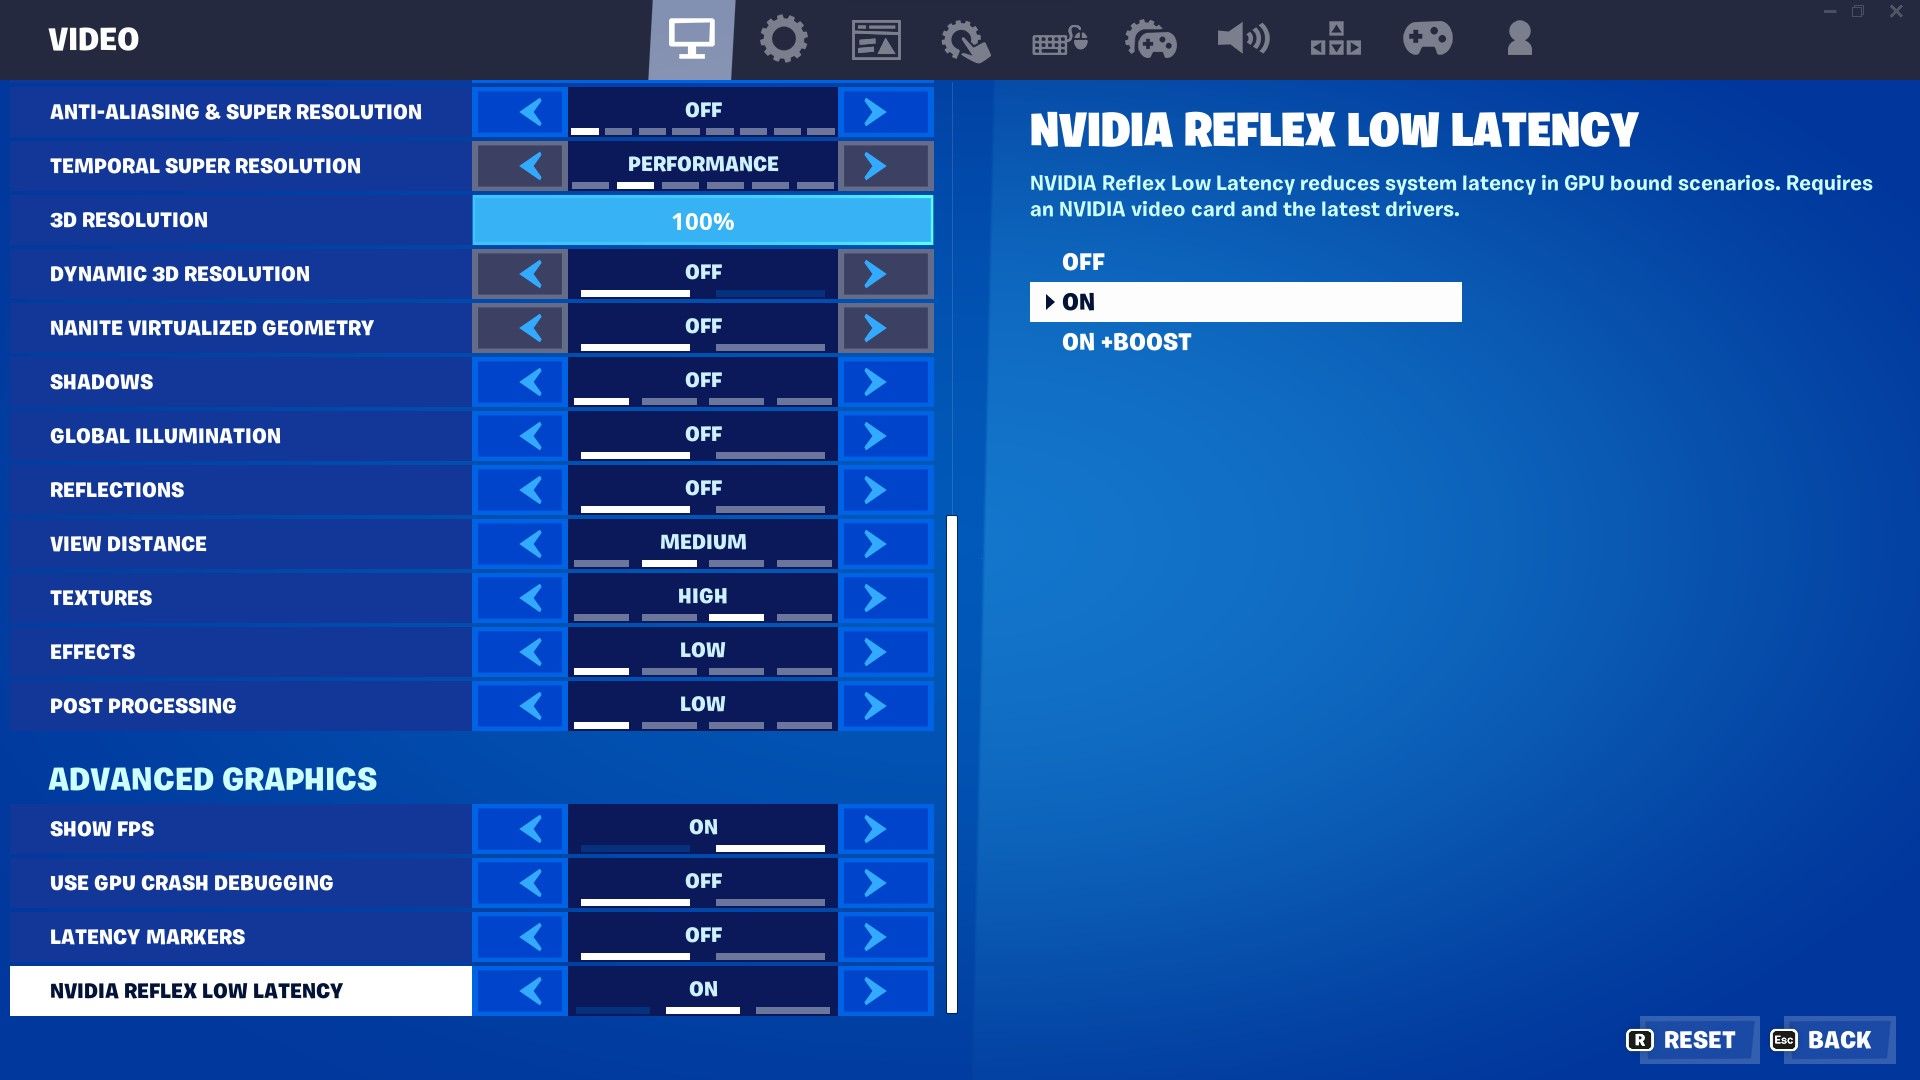
Every millisecond matters in a gunfight, and the best way to maximize game response is to work on input latency. Input latency refers to how swiftly your system translates your inputs on hardware, like a controller, keyboard, or mouse, to in-game actions.
The most accessible option for reducing input latency released recently isNVIDIA Reflex . Given the right circumstances (paired with a 360hz monitor), NVIDIA Reflex has been shown to reduce response times to as low as 15ms.
Even without a powerful monitor, NVIDIA Reflex still provides an advantage in FPS titles that support it. Unfortunately, it is only available to systems that run NVIDIA GPUs.
There are three options under the NVIDIA Reflex setting. You haveOff ,On , andOn+boost .Off keeps the setting inactive, whileOn reduces latency and works best on systems that aren’t limited by GPU or CPU.
On+boost is a specially added kick made for either CPU or GPU-bound systems. It helps these special case computers make the best use of the NVIDIA GPU and significantly improves response times.
4. Auto-Pickup and Weapon Switch
Most shooters allow you to choose what weapons you play with. As such, you can pick up a unique item from the ground when you encounter it or add it to your inventory in the game menu.
Exciting as this is, it does pose a few in-game problems. For instance, what happens when you run out of ammo in your primary weapon? Fortunately, some developers consider this and add a setting that lets you auto-swap to your secondary weapon when your main weapon runs out of ammo.
However, this setting has one major drawback. When active, it could lock you in a weapon swap animation, leaving you vulnerable to other players in the lobby.
An extension of this is the auto-pickup feature in some games. This setting simplifies retrieving some items like flashbangs, grenades, and resources. Consequently, you can easily grab utilities by walking over them.
Useful as this feature is, it could add unwanted items to your inventory. Would you prefer to pick up everything you come across and sort your inventory later? Or would you rather choose what goes into your inventory to begin with?
5. Crosshair Settings
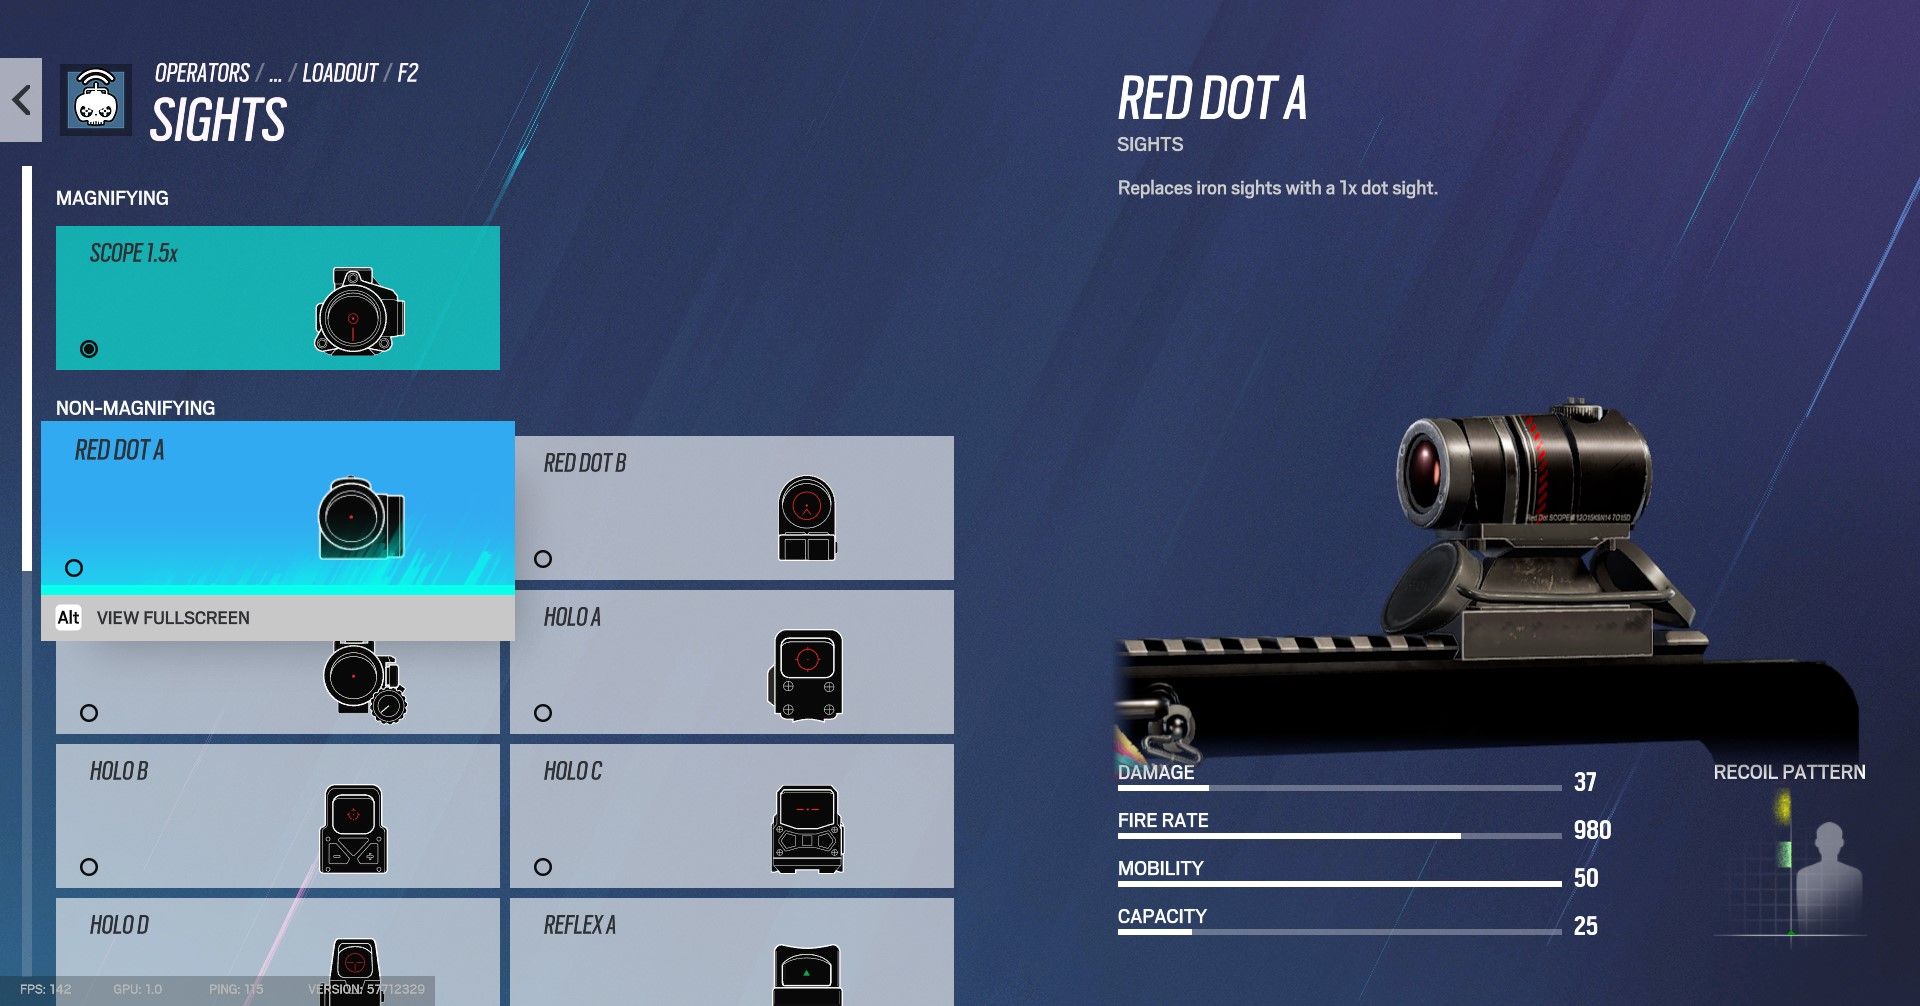
The crosshair is a physical representation of the center of your screen. It gives players something to focus on when aiming their weapons. The traditional depiction of a crosshair is a cross with an omitted center, but it can take different appearances. For instance, you could use a single dot to represent your crosshair.
Some games provide a short list of default crosshairs for players. Others allow players to create custom crosshairs and give you access to settings like size, outline thickness, and color. For instance, Rainbow Six Siege provides different sights—with unique crosshair designs—depending on the gun.
Other crosshair settings you need to be aware of are the firing error and movement error settings. When you fire your weapon or move in-game, this could cause your crosshair to grow or shrink.
Now, some players may find it harder to aim if their crosshair doesn’t stay consistent in all situations, and both settings make your crosshair size and position inconsistent. For this reason, you might want to keep these settings off.
6. Sensitivity
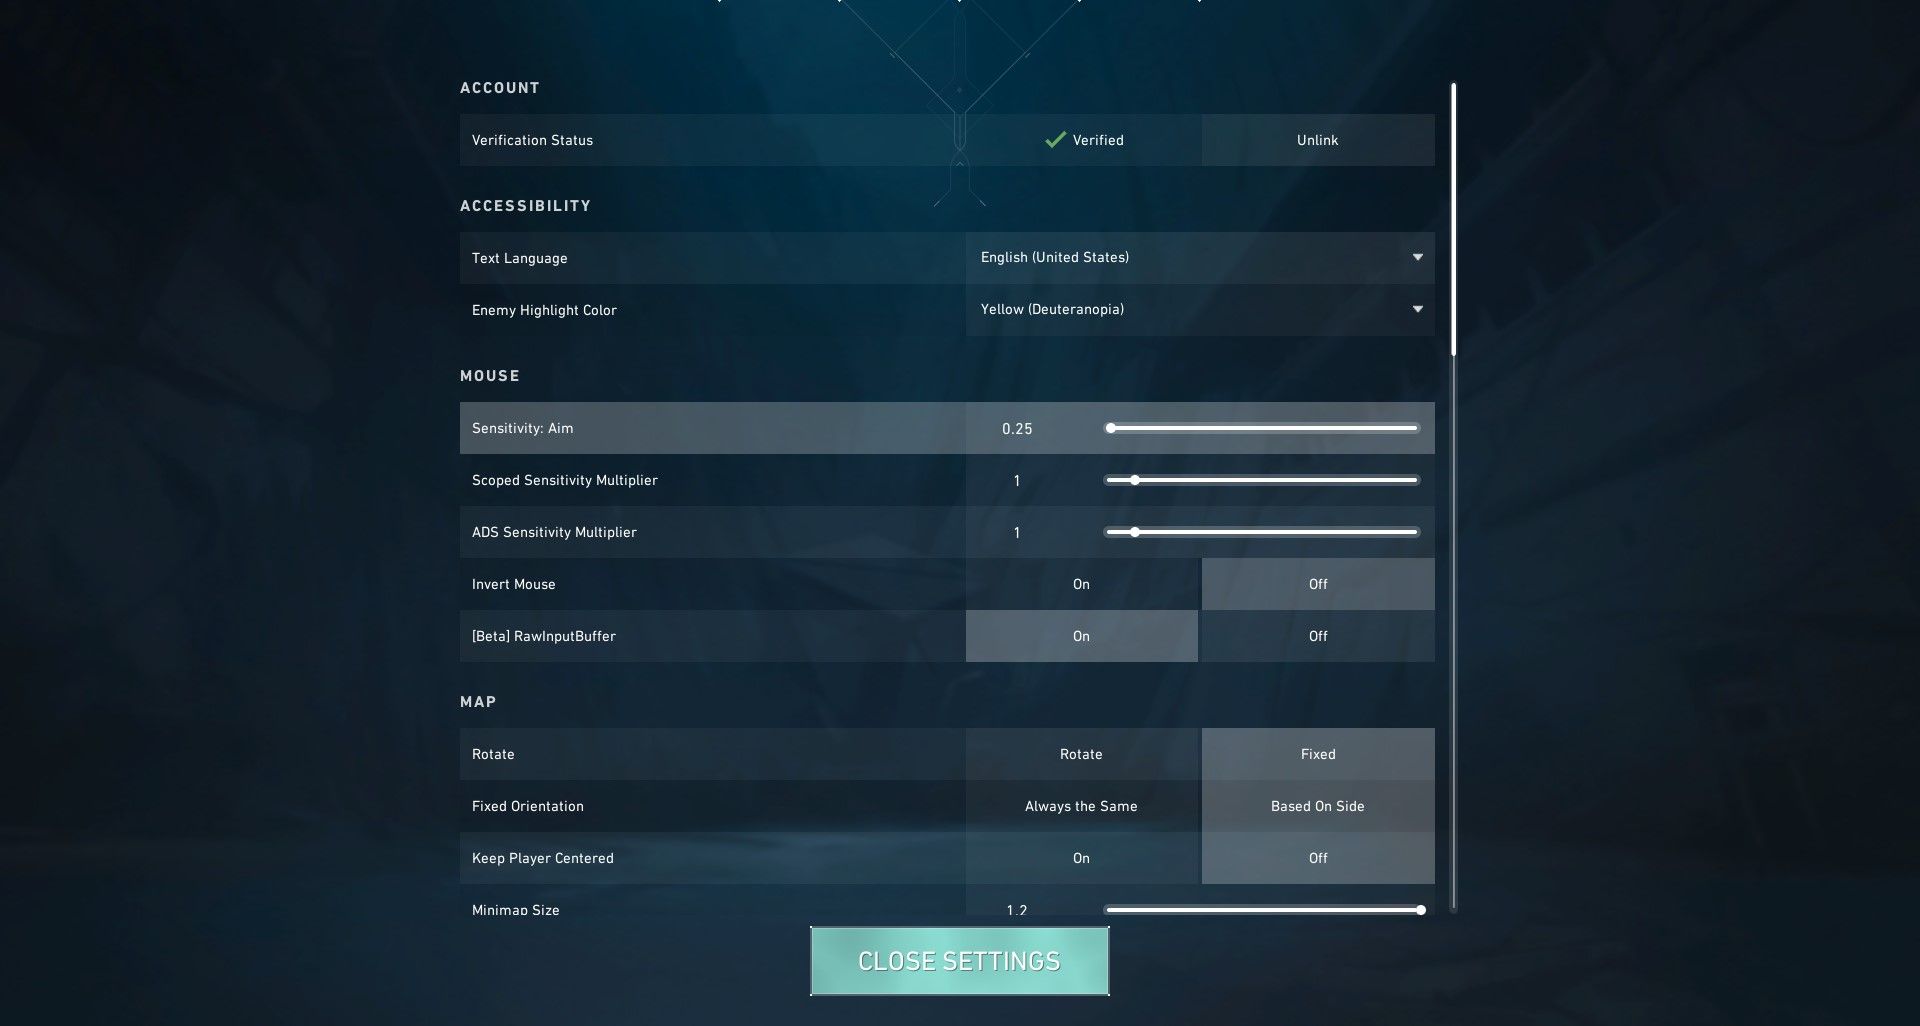
Mouse sensitivity in FPS titles is like a coin; the story has two sides. First, you need to consider the settings outside of the game before you can tweak the in-game settings.
There are many ways you cancustomize your mouse sensitivity in Windows . However, most gamers prefer to stick within the confines of the management software that comes with their mouse.
Once you’ve sorted out your base mouse settings, head into your game of choice and try to play around with the sensitivity slider. Reduce the value if the camera seems to move around way too quickly.
In the same vein, increase the value if the camera is moving too slowly. You’ll want to find that sweet spot in the middle that doesn’t overwork your arm and wrists. One good tip is to keep your sensitivity constant when you find the right setting; changing this value too frequently will mess with your aim.
Low sensitivity is great in games like Valorant and CS: GO, which are slower-paced and require a lot of precision. On the other hand, high sensitivity pairs well with fast-paced, jittery-movement games like Apex Legends, Call of Duty, and Fortnite.
The perfect sensitivity value also varies greatly depending on the player. Consequently, finding what’s comfortable will take some trial and error.
7. Keybinds
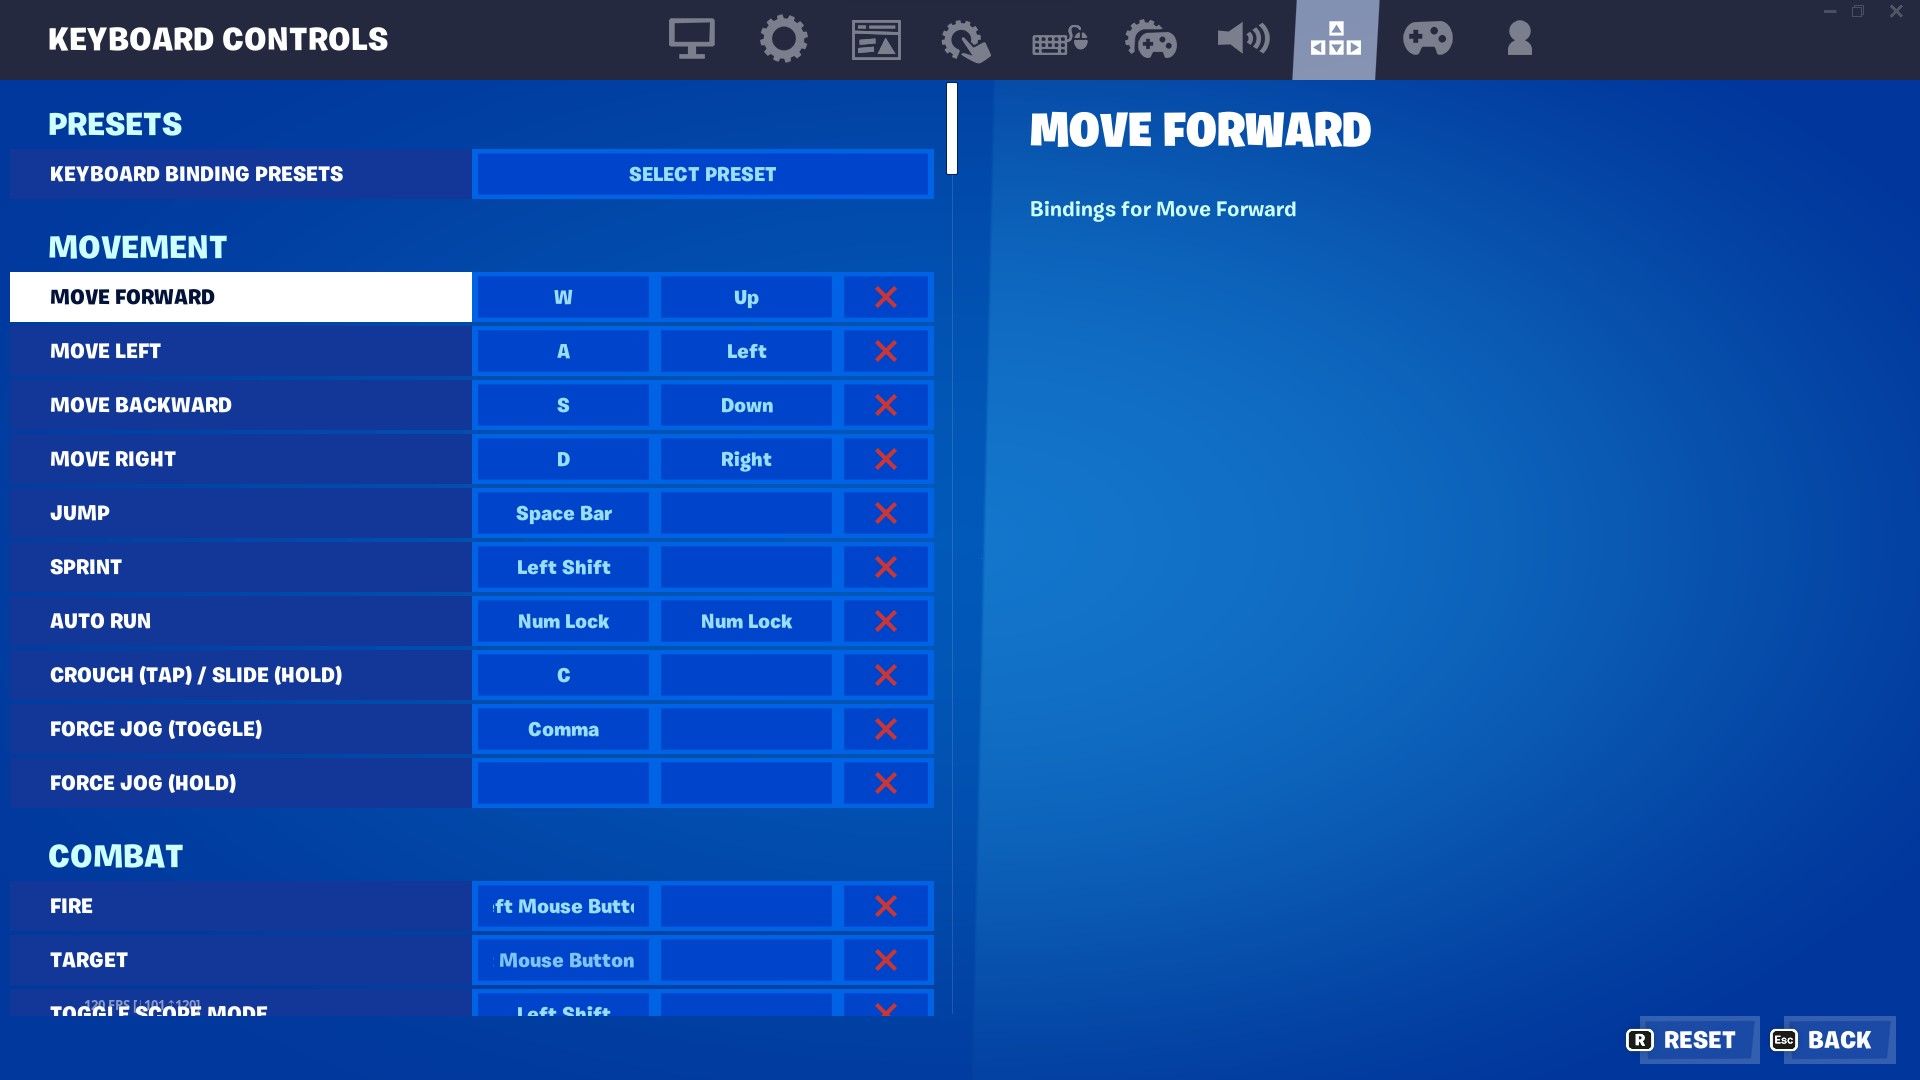
The default control keys may be uncomfortable to use in some games. Thankfully, you can easily customize key binds in most first-person shooters.
There’s much to consider when choosing custom key binds, like what keys you can reach on your keyboard. A good rule of thumb is to utilize the available keys close to your movement keys before branching out.
You could also benefit greatly from using the side buttons on your mouse to map some functions, reducing what you need to bind to your keyboard. For example, you could map push-to-talk, location, and enemy tagging to your side buttons.
Set Yourself Up for Success
Diving into a new first-person shooter can be exciting. It opens up a new realm for competitive play and allows you to explore some unique game mechanics. However, to fully enjoy this new adventure, you need to step back and ensure that your settings won’t trip you up when it matters the most.
It’ll take some work, but it’ll be worth it to find that sweet spot where your game runs as it should, your crosshair moves the way you intend, and the game generally works in your favor. This will propel you to give your best whenever you queue for a match.
Also read:
- [New] Discovering the Most Shared TwitVideos of the Year
- [Updated] 2024 Approved Unlock the Potential of Your Facebook Lives
- 2024 Approved Deep Windows 11 Know-How Importing Media Like a Pro
- Don't Miss Out! Unbeatable Labor Day Sale on Fire TV and Xbox Game Pass Bundle – Save a Whopping 33% | TechRadar News
- Download the Newest NVIDIA GeForce RTX 3080 Ti Drivers on Windows 11, 10 & 7
- Elevate Your Video Game Top Tips for Perfect Live Thumbnails for 2024
- Fabio's IT Success: Video on Exchanging Effective Testimonials
- In 2024, Converting Standard Texts Into Stunning 3D Artifacts PHOTO
- Mastering Multitasking Sync Many YT Videos Simultaneously
- Top 44 Unbeatable Christmas & New Year Flash Drives Promotions of 2023 | ZDNet
- Unlocking Gamers' Hidden Gem: The Top-Ranked Samsung Projector for Unbeatable Play Experiences - Insider Review
- ZDNet's In-Depth SteelSeries AeroX 5 Gaming Mouse Assessment: Is It Overloaded With Features?
- Title: The Foundation of FPS Mastery: Critical Settings Guide
- Author: William
- Created at : 2024-10-29 17:02:38
- Updated at : 2024-11-05 20:44:50
- Link: https://games-able.techidaily.com/the-foundation-of-fps-mastery-critical-settings-guide/
- License: This work is licensed under CC BY-NC-SA 4.0.