
Step Into the Mechanics: How to Deconstruct Your Xbox 360/S
Step Into the Mechanics: How to Deconstruct Your Xbox 360/S
Controllers have become an essential part of video games whether you play games on a console or PC. That said, as manufacturers continue packing more and more tech into their controllers, they’re also getting more difficult to disassemble, let alone repair.
On an Xbox Series X|S controller, extra vibration motors, more sensors, and added circuitry are just a few things you have to deal with when taking apart a controller for maintenance now. They make things harder, sure, but it’s not impossible to take it apart.
Why Should You Take Apart Your Xbox Series X|S Controller?
Depending on how often you play games, your Xbox Series X|S controller gets a fair bit of action. Not only can frequent use lead to issues like stick drift, but regular maintenance every now and then won’t hurt.
For most things, you will have to at least take apart the external shell of your Xbox controller. Simple tasks like repairing or replacing a button or trigger, checking battery connections, and even cleaning any accumulated dirt around the controls will require basic disassembly.
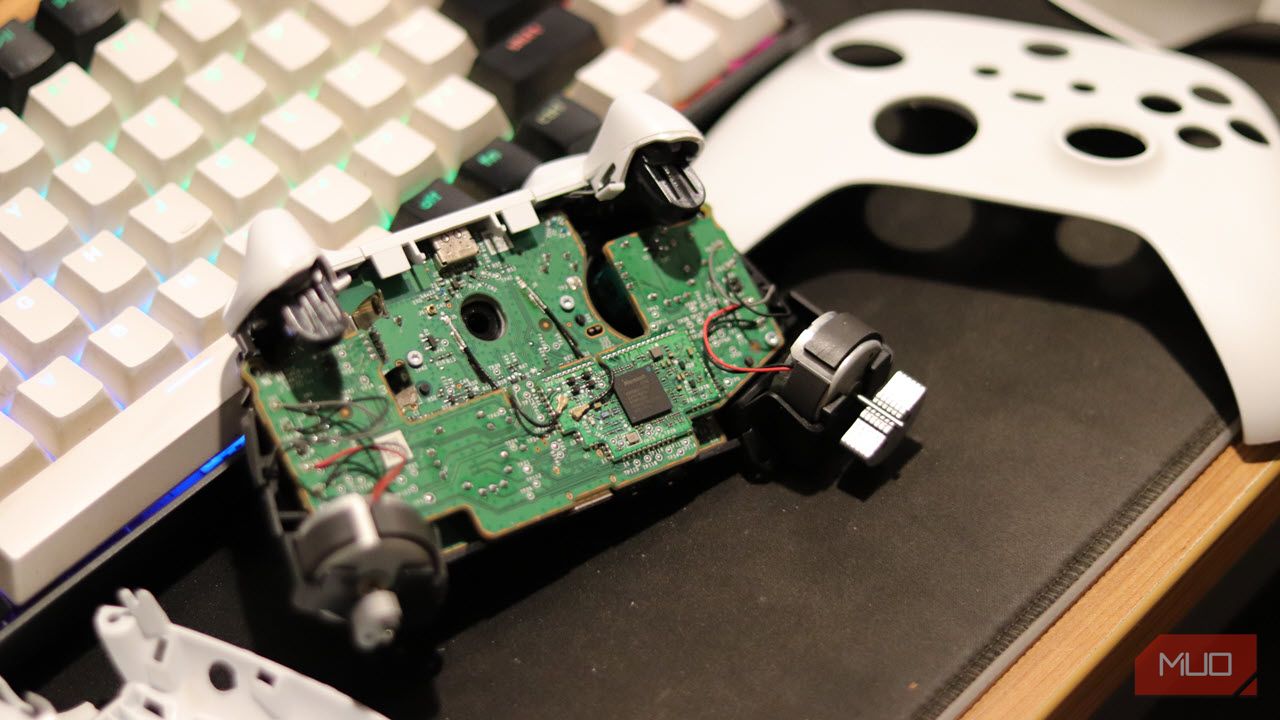
If you’re carrying out a complex repair like replacing your thumbsticks, you’ll have to go even further and take the daughterboard out as well, as Xbox controllers tend to have two separate PCBs inside. Even fixing your Xbox controller’s drifting issues might require an in-depth teardown.
What Equipment Do You Need?
We’ve already covered how to take apart your Xbox One controller , and while the process is largely similar, Xbox Series X|S controllers come with additional circuitry such as the trigger vibration motors which require extra steps. Additionally, Xbox Series X|S controllers come with Torx Security screws instead of regular Torx screws , so you’ll need the corresponding bits as well.
Overall, here’s everything you need:
- Torx Security screwdriver (with T6, T8, and T9 bits)
- Flathead screwdriver
- A plastic prying tool or spudger (a thick guitar pick would work too)
- A pair of tweezers

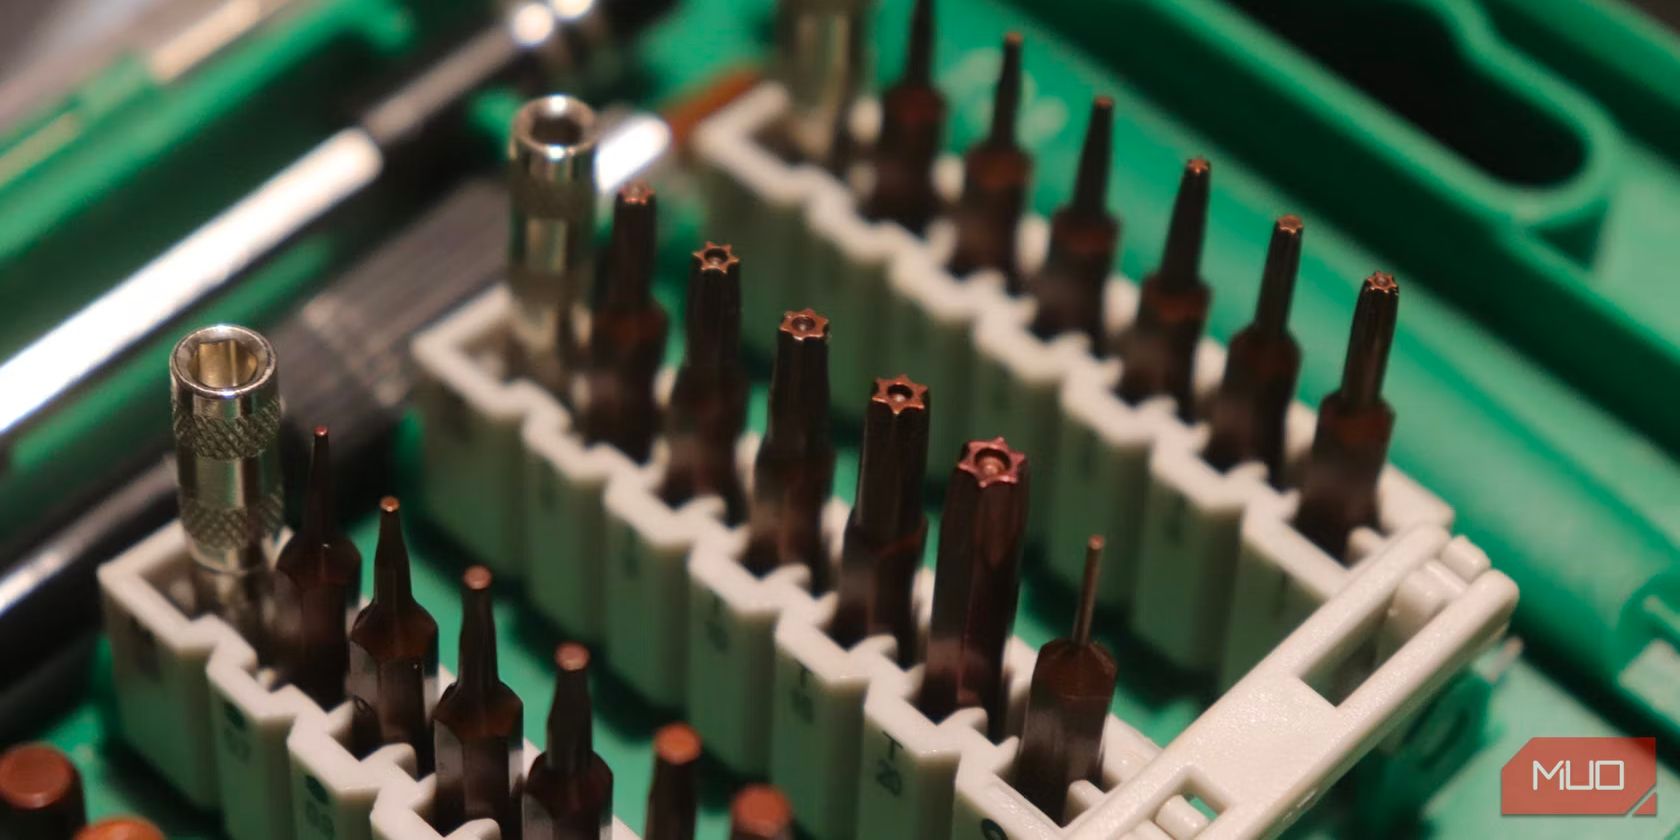
In case you don’t have the tools required, you can invest in any of the many toolkits available on Amazon for around $10.
## How to Take Your Xbox Series X|S Controller ApartNow that you have everything you need on hand, disassembling an Xbox Series X|S controller is actually not that difficult. Just follow these steps.
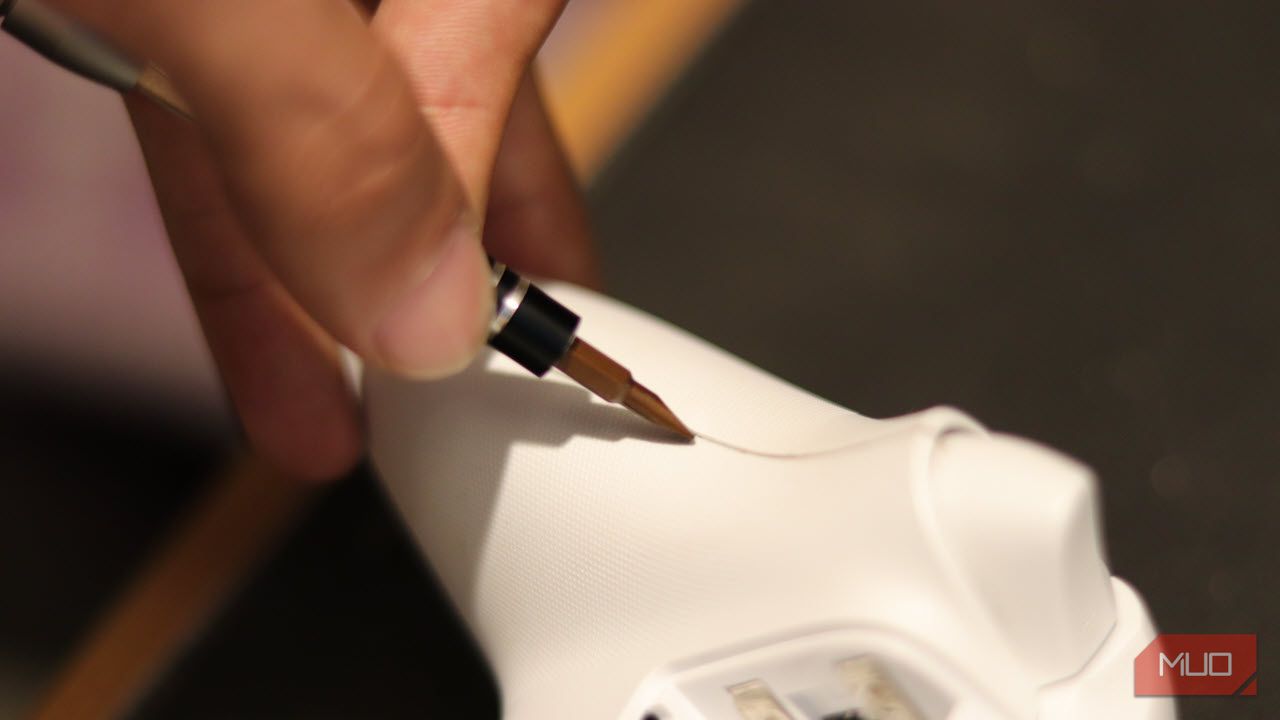
- Remove the door to the battery compartment and take out the batteries. You’ll also have to remove the sticker inside the battery compartment as it hides a screw underneath. You can either heat it up with a hair dryer or just punch through with your screwdriver.
- Using the plastic prying tool or spudger, remove the plastic panels from the controller’s handles where your hands sit. This can be difficult, so be patient and gentle as you wiggle the prying tool under the edge to unclip the panels.
- Once the panels are off, you’ll have to remove the five Torx Security screws—two on each handle, one under the sticker in the battery compartment.
- The front and back panels should simply come off now.
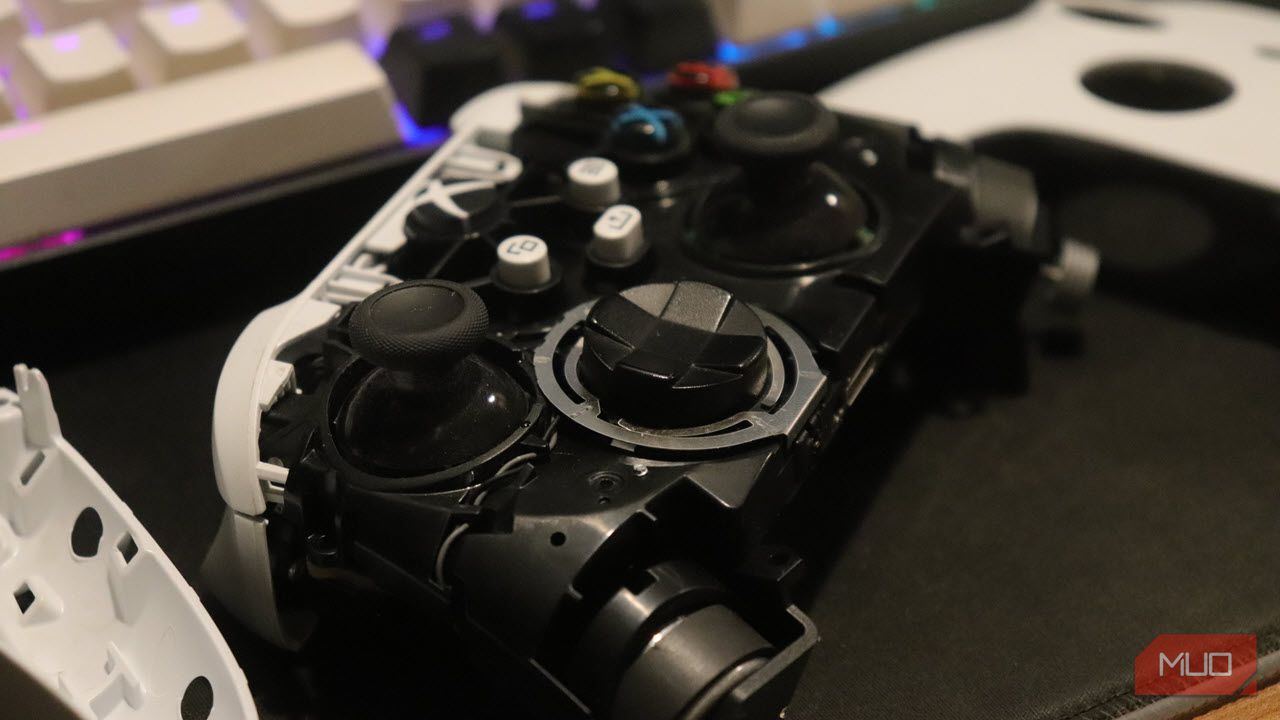
- At this point, you’ll have access to the thumbsticks, D-pad, triggers, and the face buttons.
- Flip the controller over and use the prying tool to unclip the plastic tab protecting the USB-C port.
- Remove the tabs holding down the shoulder buttons from the left and right. This can be tricky, so be careful not to break the tabs. Once the tabs are open, take off the plastic cover.
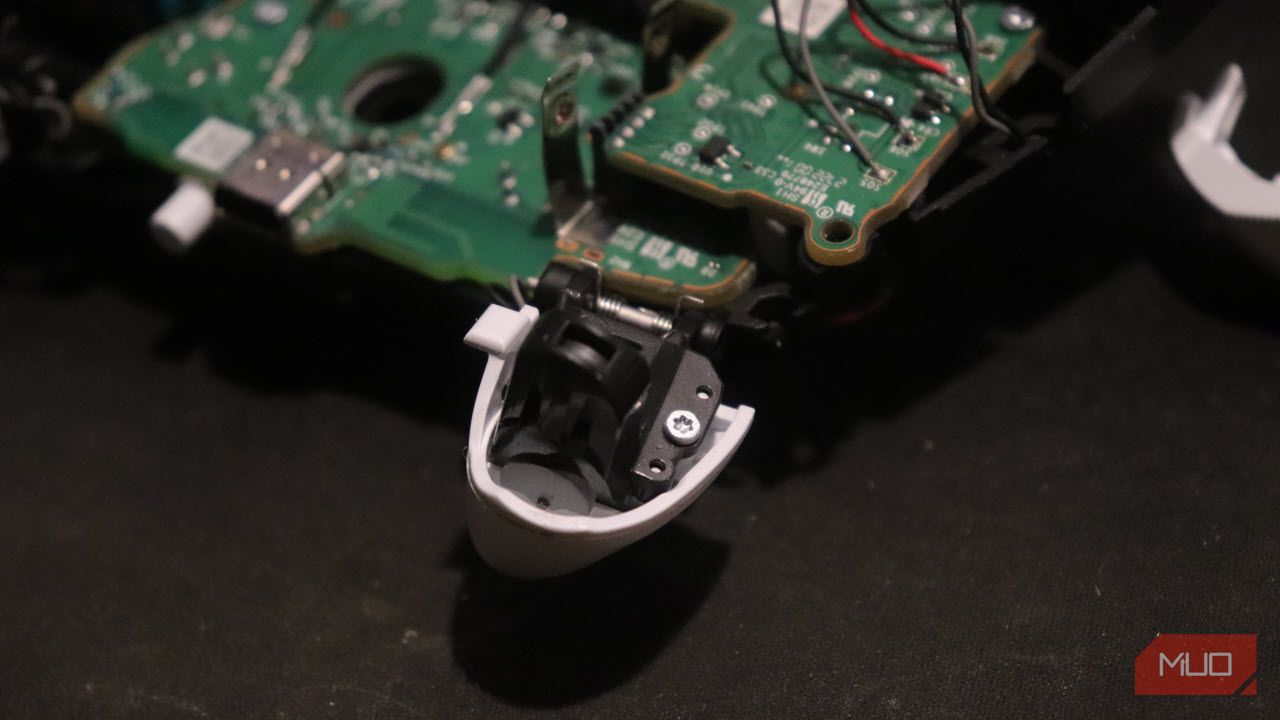
- Use a T6 bit to unscrew the trigger vibration motors. The trigger should automatically come loose at this point.
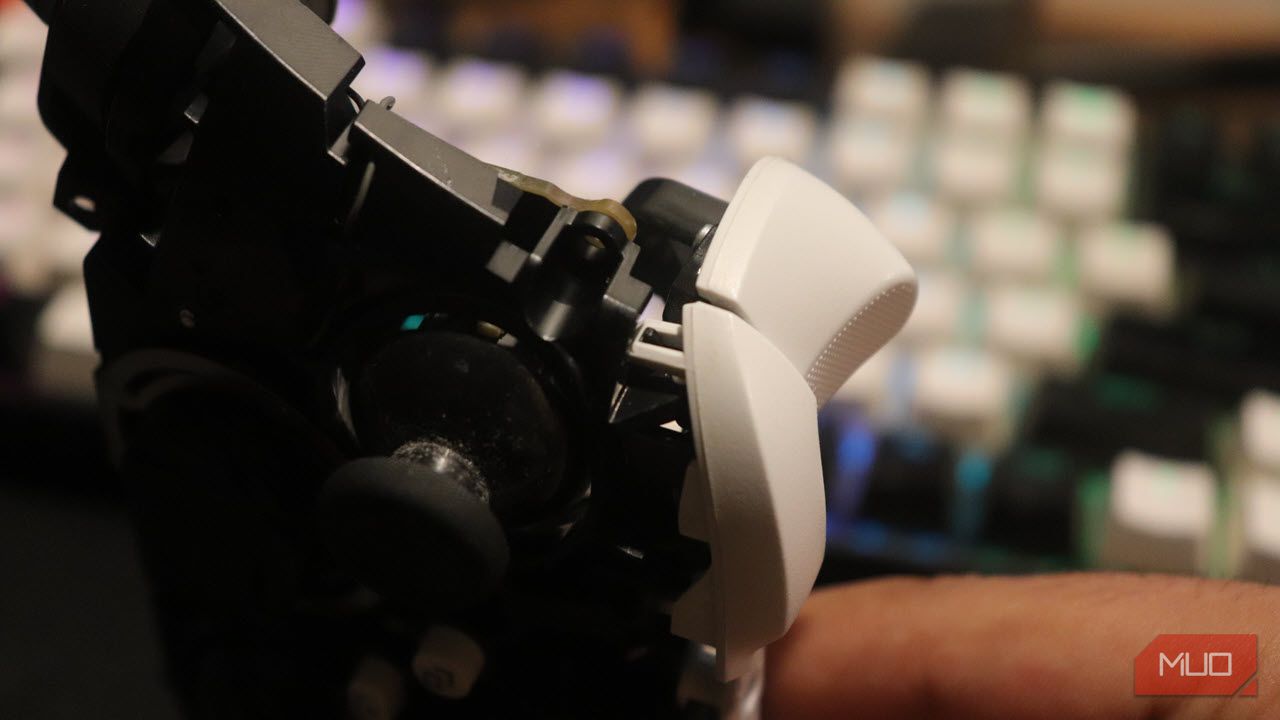
If you’re looking to replace or repair the triggers, you’ll have to be wary of the trigger vibration motors as well. They’re soldered onto the mainboard with rather thin wires that’ll snap off if you put too much pressure on them. Additionally, the main vibration motors are wired through the face buttons on the right and the left stick on the left, so be careful not to snap them off or bend them too much.
As mentioned above, once you’re done with the disassembly, you can carry out just about any maintenance or repair work on your controller, including but not limited to:
- Cleaning your controller from the inside
- Fixing stick drift
- Swap out your vibration motors, although this would require some delicate soldering (as would replacing just about anything else), so caution is advised
- Replacing the thumbsticks (requires soldering)
You can also customize your Xbox Series X|S controller to your heart’s content. Since the face buttons will come off once you’ve removed the motherboard, you can swap them out for a different color or style.
The Xbox button’s color can also be changed by putting a thin film of colored plastic under the button when putting the controller back again. Since the front and the back panels are off now, spray-painting them to a different color is also not a bad idea. Do keep in mind though that if your controller is any other color except white, the end result may not be exactly what you expected. However, once all the pieces are out, the sky is the limit.
With the right tools, taking apart your Xbox Series X|S controller is only a matter of a few minutes. Once it’s disassembled, you can carry out general maintenance, repairs, replace parts, and even customize your controller the way you want.
Overall, with a few tools and a little bit of time, you can save yourself some money and prevent your controller from ending up in the trash by repairing or customizing it to breathe new life into the peripheral.
- Title: Step Into the Mechanics: How to Deconstruct Your Xbox 360/S
- Author: William
- Created at : 2024-09-04 21:46:54
- Updated at : 2024-09-05 21:46:54
- Link: https://games-able.techidaily.com/step-into-the-mechanics-how-to-deconstruct-your-xbox-360s/
- License: This work is licensed under CC BY-NC-SA 4.0.