
Remediation Techniques for Low-End Display Effects
Remediation Techniques for Low-End Display Effects
Every year, it seems like GPUs keep getting bigger and bigger. And while a massive, powerful graphics card can look really cool, they come with downsides. Namely, they’re trickier to hold in place—and with them not only being bigger but also heavier, we’ve reached a point where some graphics cards might actually damage your PC if they’re not installed correctly.
Why? Because of a phenomenon called “GPU sag.”
But what is GPU sag, and how do you fix it? More importantly, how can you avoid it?
What Is GPU Sag?
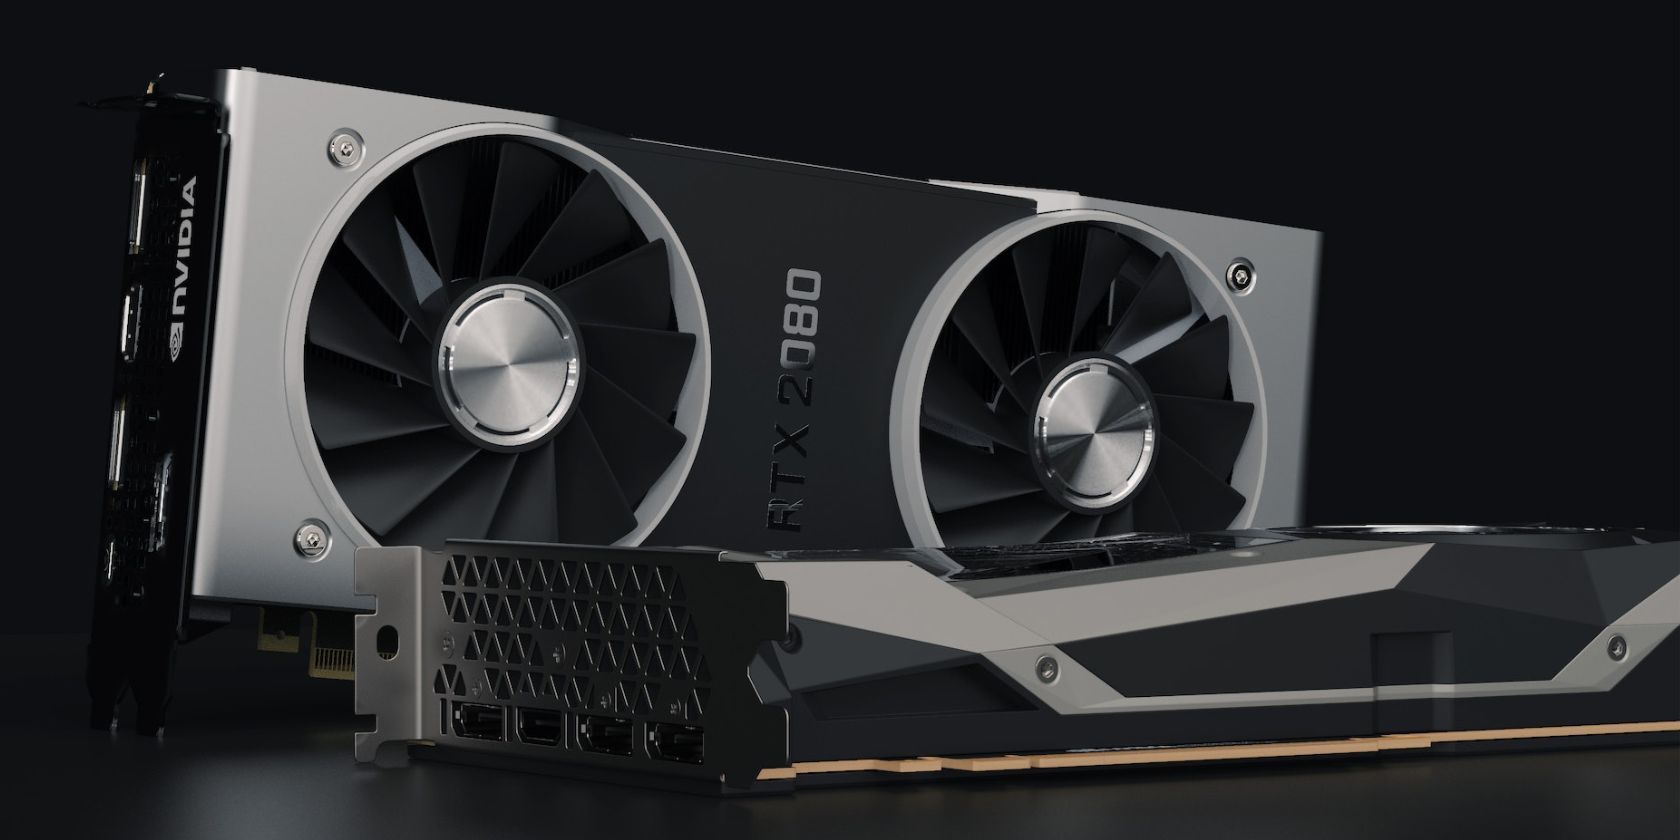
GPU sag, or GPU sagging, is a term used to describe the phenomenon where a high-end graphics card is so heavy that if it’s connected to a vertically-positioned motherboard, it ends up exerting downward pressure on the slot and “sagging” from it rather than staying in place snugly. While smaller graphics cards use your case’s PCI Express lanes and cutouts to avoid sagging, bigger graphics cards with big shrouds can cause a lot of stress in the PCI Express slot.
Think of your graphics card as a plank you’re holding off a ledge by stepping on it. If it’s a lighter plank, you’ll have no problems at all. But if you’re dealing with a bigger or heavier plank, it will start bending, and trying to hold it yourself will be harder.
The main reason for GPU sag is, as we mentioned, the weight and dimensions of the graphics card itself, which can cause stress on not only the PCIe slot but also the GPU itself. To their credit, PCI Express slots are very resilient, and higher-end motherboards have slots that are physically reinforced to account for GPU sagging. But even if you have the most resilient slot out there, it might still be damaged by sagging, and you might also suffer other kinds of hardware damage in the long run.
What Consequences Does GPU Sag Have?

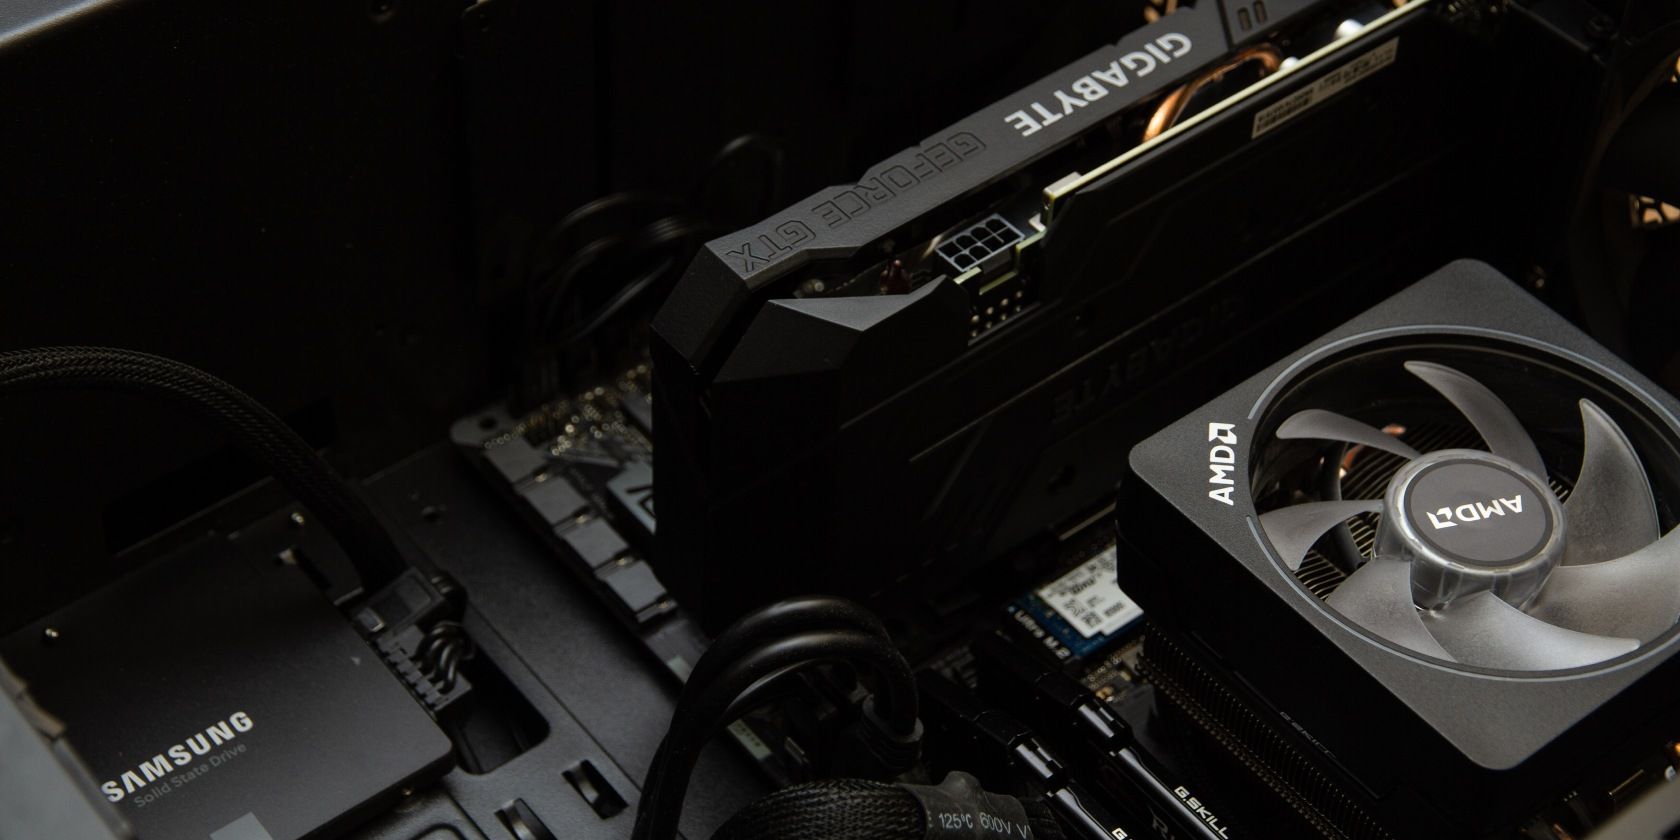
Image Credit: Smit/Shutterstock
GPU sag can lead to serious damage to your hardware in general. Namely, the slot, especially if it’s a non-reinforced one, can cause the slot to bend or warp over time. A damaged slot will mean you’ll have a poor or unstable connection between the GPU and the motherboard, leading to performance issues or even complete failure of the graphics card .
Not only can the slot be damaged, but also the graphics card itself. GPU sag exerts pressure on the GPU circuit board, which houses the delicate electrical components of the graphics card. Bending of the circuit board can, and most likely will over the long term, cause microfractures or weaken soldered connections, potentially leading to electrical issues or, ultimately, failure of the GPU.
This is more of a fringe scenario, but GPU sag can also even mess with the alignment of the GPU cooler and the heat sink to the point it might reduce the contact area of the cooler and the thermal conductivity between them. As a result, the heat dissipation efficiency of the graphics card can also be compromised. And we all know what happens when something can’t be cooled properly—it thermal throttles and ends in a disaster .
How to Avoid GPU Sag
GPU sag is an issue. But with all those huge GPUs out there, they can’t be breaking everyone’s PCs. And as it turns out, plenty of options exist to reduce GPU sag to a minimum or even eliminate it completely.
1. Use a GPU Bracket
The top solution to fix GPU sagging is to use a GPU bracket. Continuing with the plank analogy, this is the equivalent of adding a small pillar or support beam beneath the plank to lift and hold it up. By attaching one end of the bracket to a secure point inside the case and then having the graphics card rest on it, you create a stable structure that keeps the graphics card level and prevents it from bending under its weight.
The GPU support bracket’s purpose is to help support the GPU so that not all the pressure is exerted on the fragile connection point. Some brackets have a wide base to rest on the bottom of the case, while others attach to the PCIe slots or other mounting points on the motherboard. It’s usually an easy and tool-less installation, and you can adjust the height of the support to fit the specific size of your graphics card.
2. Build Your PC Horizontally
Support brackets are included with most big GPUs and should be the go-to choice for most people. But what if you don’t want to use one? Well, the next best way to fix GPU sagging is to forego installing your motherboard vertically.
By using a horizontal case, downward pressure would not be exerted on the PCI Express slot at all, allowing you to build your PC with as big of a GPU as you want with complete peace of mind. There are plenty of horizontal PC cases out there, and if you were planning on using one anyway, you’ll be glad to know GPU sag isn’t an issue at all.
3. Get a Smaller GPU
Finally, if the first two GPU sag fixes aren’t options, you may have to downgrade your GPU to one that doesn’t sag as easily. This is as straightforward as it sounds—if the triple-fan behemoths aren’t going to cut it, you’ll have to settle with a smaller option.
Luckily, there are plenty of smaller GPUs out there that can still game just fine. These will normally be “mid-range” units for the most part. It’s really just a matter of looking at your options and seeing which one would fit the bill best.
There’s a Fix to GPU Sag
GPU sag happens to the best of us, and it can cause great damage to your PC. However, with a little elbow grease, you should be able to fix it. Just be sure that your GPU comes with a bracket—or try one of our two other methods to avoid it.
- Title: Remediation Techniques for Low-End Display Effects
- Author: William
- Created at : 2024-07-12 03:24:24
- Updated at : 2024-07-13 03:24:24
- Link: https://games-able.techidaily.com/remediation-techniques-for-low-end-display-effects/
- License: This work is licensed under CC BY-NC-SA 4.0.